It all began with one multi-colored shower curtain. From the same curtain, I've made a tripod bag, a trash bag for the car and a
back support pillow. I love the vibrant colors, the stripes, the heavier weight fabric and the grommets.
I wanted to utilize the grommets and thought a yarn dispenser bag would do just that.
Here's how I made the zipper yarn dispenser bag:
Cut a piece of fabric measuring 11" x 26".
(I have folded the curtain lengthwise, thus it appears to be 11" x 13" in the picture.)
Be sure to put into consideration the grommet placement and that the grommets should be on one of the shorter ends.
*Since the grommet end is already finished, you will be attaching the zipper and top stitching with just one step!
Mark the center of the zipper (13" long) and the shorter ends of fabric. With the zipper right side up, lay the fabric (grommet end, right side up) on the zipper, and match center marks.
Pin, pin, pin.
Change your sewing foot to a zipper foot and stitch.
Now, attaching the other side of the zipper with right side of the zipper and right side of fabric facing. Match center marks, pin and stitch.
Turn the fabric right side out. Top stitch.
*OPEN the zipper! (so you could turn the bag right side out with you are done sewing.)
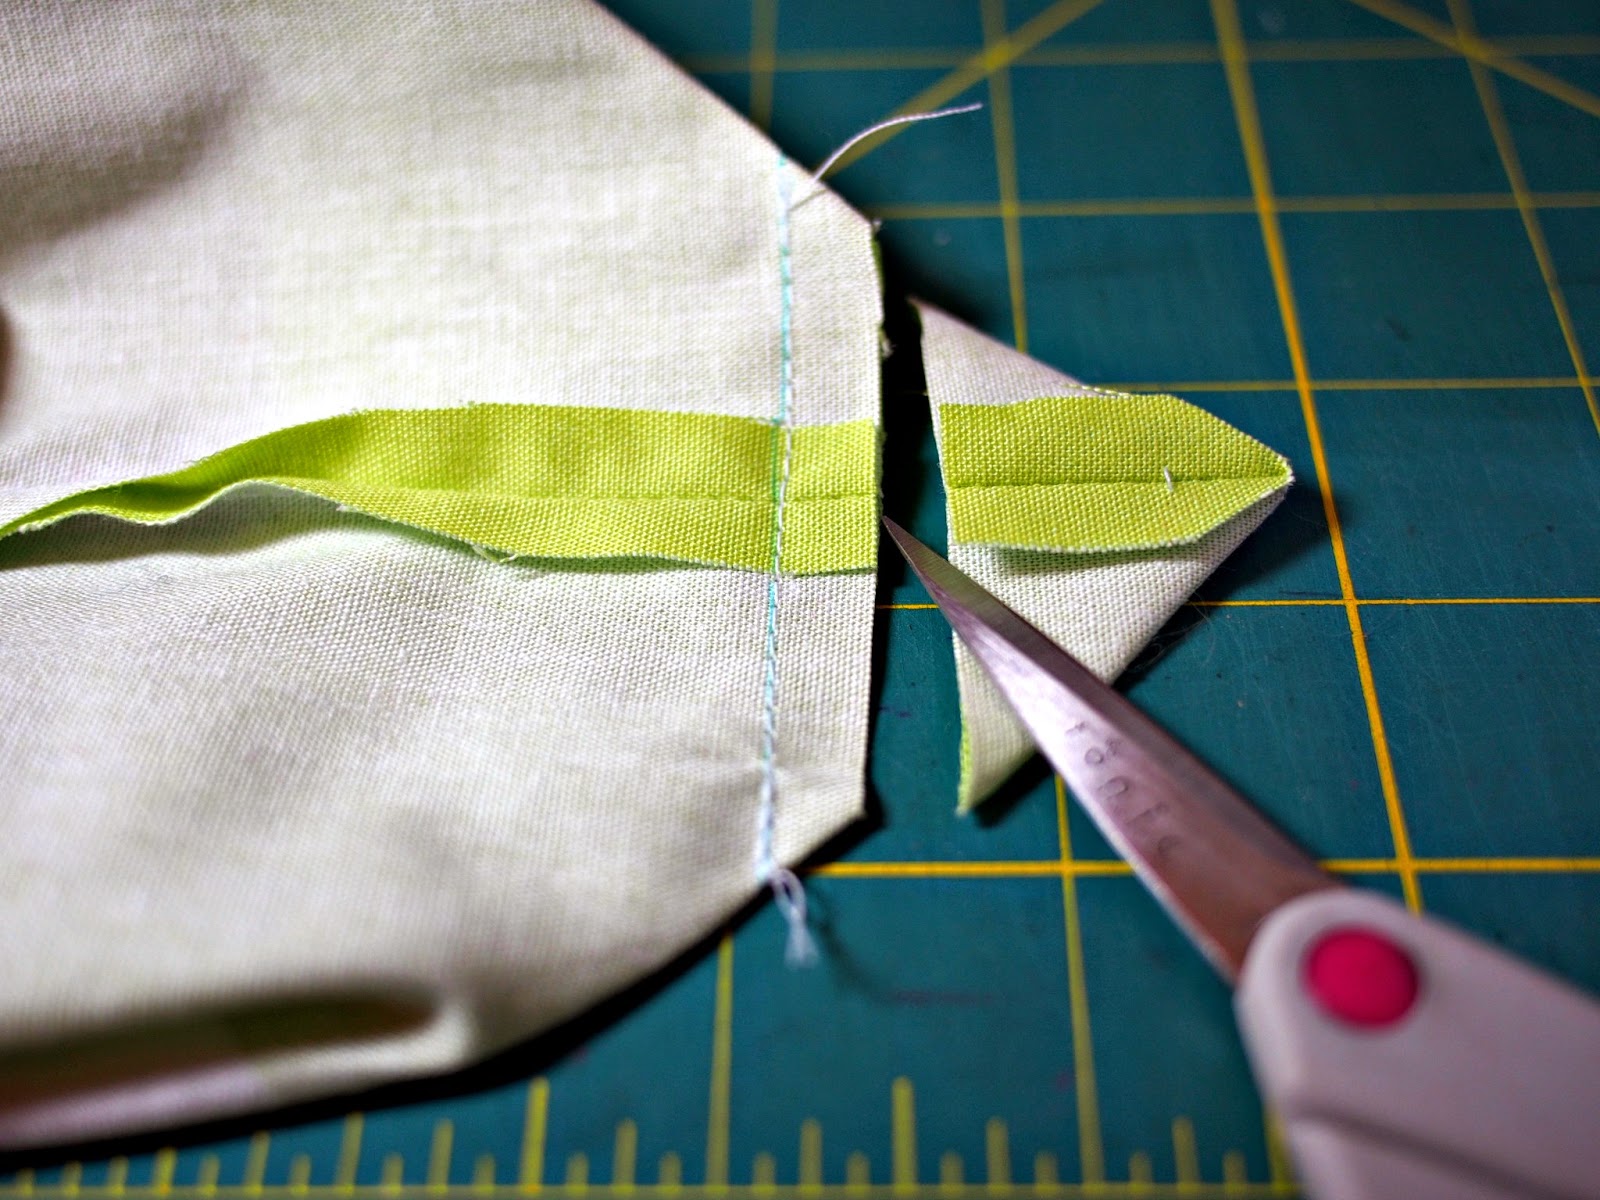
Turn the fabric wrong side out. Leave 1 1/2" on top of the zipper, pin and stitch both open ends close. (stitch over the zipper back and forth a few times) Clip the excess zipper ends.
With the seam facing up, pull one the bottom corners to create a point.
Measure 1 1/2" from the point and mark sewing line with water soluble pen.
Stitch. Clip 1/4" from stitched line. Repeat on the other corner.
You could clip the raw edges with pinking shears. Or...
Bind it with bias tape.
Cut single fold bias tape 1/2" to 3/4" longer than the raw edge.
Unfold the bias tape lengthwise. With wrong side facing up, lay bias tape along the raw edge. Fold in the 2 short ends of bias to match the length of raw edge. Pin.
Stitch right on the fold closest to the edge. Then, fold the bias tape to the other side. Fold in the 2nd fold to sandwich the raw edge and pin.
Select a short zig zag stitch on your machine.
Stitch. Turn the bag right side out.
Put your ball/skein of yarn in the bag and thread the yarn through the grommet. I am now ready to knit my next project!
 Follow TingTingMamMa