I made another one for my sweet young friend. This one is seriously much neater and a better size than the one for JJ.
Wednesday, October 5, 2016
Pencil Pouches
I made this one for JJ. It's baggier than I wanted. But it turns out that JJ's teacher this year is asking the students to bring many pens, color pencils and different markers to school. So this is perfect!
I made another one for my sweet young friend. This one is seriously much neater and a better size than the one for JJ.
Follow TingTingMamMa
I made another one for my sweet young friend. This one is seriously much neater and a better size than the one for JJ.
Posted by
Deb
0
comments
Labels:
DIY,
pouch,
sewing
Yellow Pocket Pouch
I made this for my dear friend's birthday back in May. Now that she's moved, I do not see her everyday as I used to. I miss her so much. I am thankful to have her friendship for the past years.
KeyKa Lou Pattern.
Follow TingTingMamMa
KeyKa Lou Pattern.
Posted by
Deb
0
comments
Labels:
DIY,
pouch,
sewing
Wednesday, September 28, 2016
Thank You Cards
JJ and I have had so much fun making cards lately. We've watched many Youtube clips before trying some on our own. Since the theme for the past Summer's VBS was Deep Sea, I can't seem to have enough of the sea creatures. And it reflects on the choice of die cuts on my cards.
The most useful cards we have made so far are the thank you cards. And we have so many people to thank, from my VBS leaders team, the decorating helpers, my student who brought me something from her trip, to my own kiddos. I guess I am trying to justify my time spent on crafting as always. Haha.
Follow TingTingMamMa
The most useful cards we have made so far are the thank you cards. And we have so many people to thank, from my VBS leaders team, the decorating helpers, my student who brought me something from her trip, to my own kiddos. I guess I am trying to justify my time spent on crafting as always. Haha.
Posted by
Deb
0
comments
Labels:
cards,
DIY,
stamping
Friday, June 24, 2016
Video Tutorial: Personalized Bookmark Cards
This is my first attempt to compose a video tutorial. My teen boy who's tech savvy offered me tips. Thanks, son. I am not pleased with the speed or the resolution, however. I am sure I still have tons to learn regarding putting together a video. So bear with me.
For this project, I used die cut letters, partial die cut, and watercolor pencils.
(Update: I just realized that this clip is not smartphone friendly. Sorry.
Time to talk to my son and find a fix.)
(Update 2: Issue resolved. Yay!!)
Follow TingTingMamMa
Posted by
Deb
0
comments
Labels:
card making,
DIY,
tutorial
Tuesday, April 26, 2016
Saturday, April 16, 2016
Dinning Chair Re-upholstery
My dinning chairs are celebrating their 10th birthday. I loved how easy it was to clean the white vinyl seats until they got stained so badly over the years. The picture above actually shows a chair that is still in decent shape. Most of the seats have been punctured and slashed by my cat who loves to jump on them.
There are many re-upholstery tutorials out there that seem pretty easy. And most importantly, I own a staple gun and I've been waiting to try my hand at it for a long while. This is definitely the project!
Seriously, from taking down the seat cushion, to cutting the fabric, to staple the fabric to the seat, to screwing back the seat cushion, each dinning chair takes me less then 15 minutes. Easy and fast. I get my kids to do all the pounding to make sure the staples are flush. Great Spring break project with the kiddos, I'd say.
4 done. 4 more to go.
Follow TingTingMamMa
There are many re-upholstery tutorials out there that seem pretty easy. And most importantly, I own a staple gun and I've been waiting to try my hand at it for a long while. This is definitely the project!
Seriously, from taking down the seat cushion, to cutting the fabric, to staple the fabric to the seat, to screwing back the seat cushion, each dinning chair takes me less then 15 minutes. Easy and fast. I get my kids to do all the pounding to make sure the staples are flush. Great Spring break project with the kiddos, I'd say.
4 done. 4 more to go.
Posted by
Deb
0
comments
Labels:
DIY
Thursday, February 25, 2016
We Go Together, Like Rama Lamma Lamma Ka Dinga Da Dinga Dong
Guess whose house has been playing Grease over and over and over this past week?
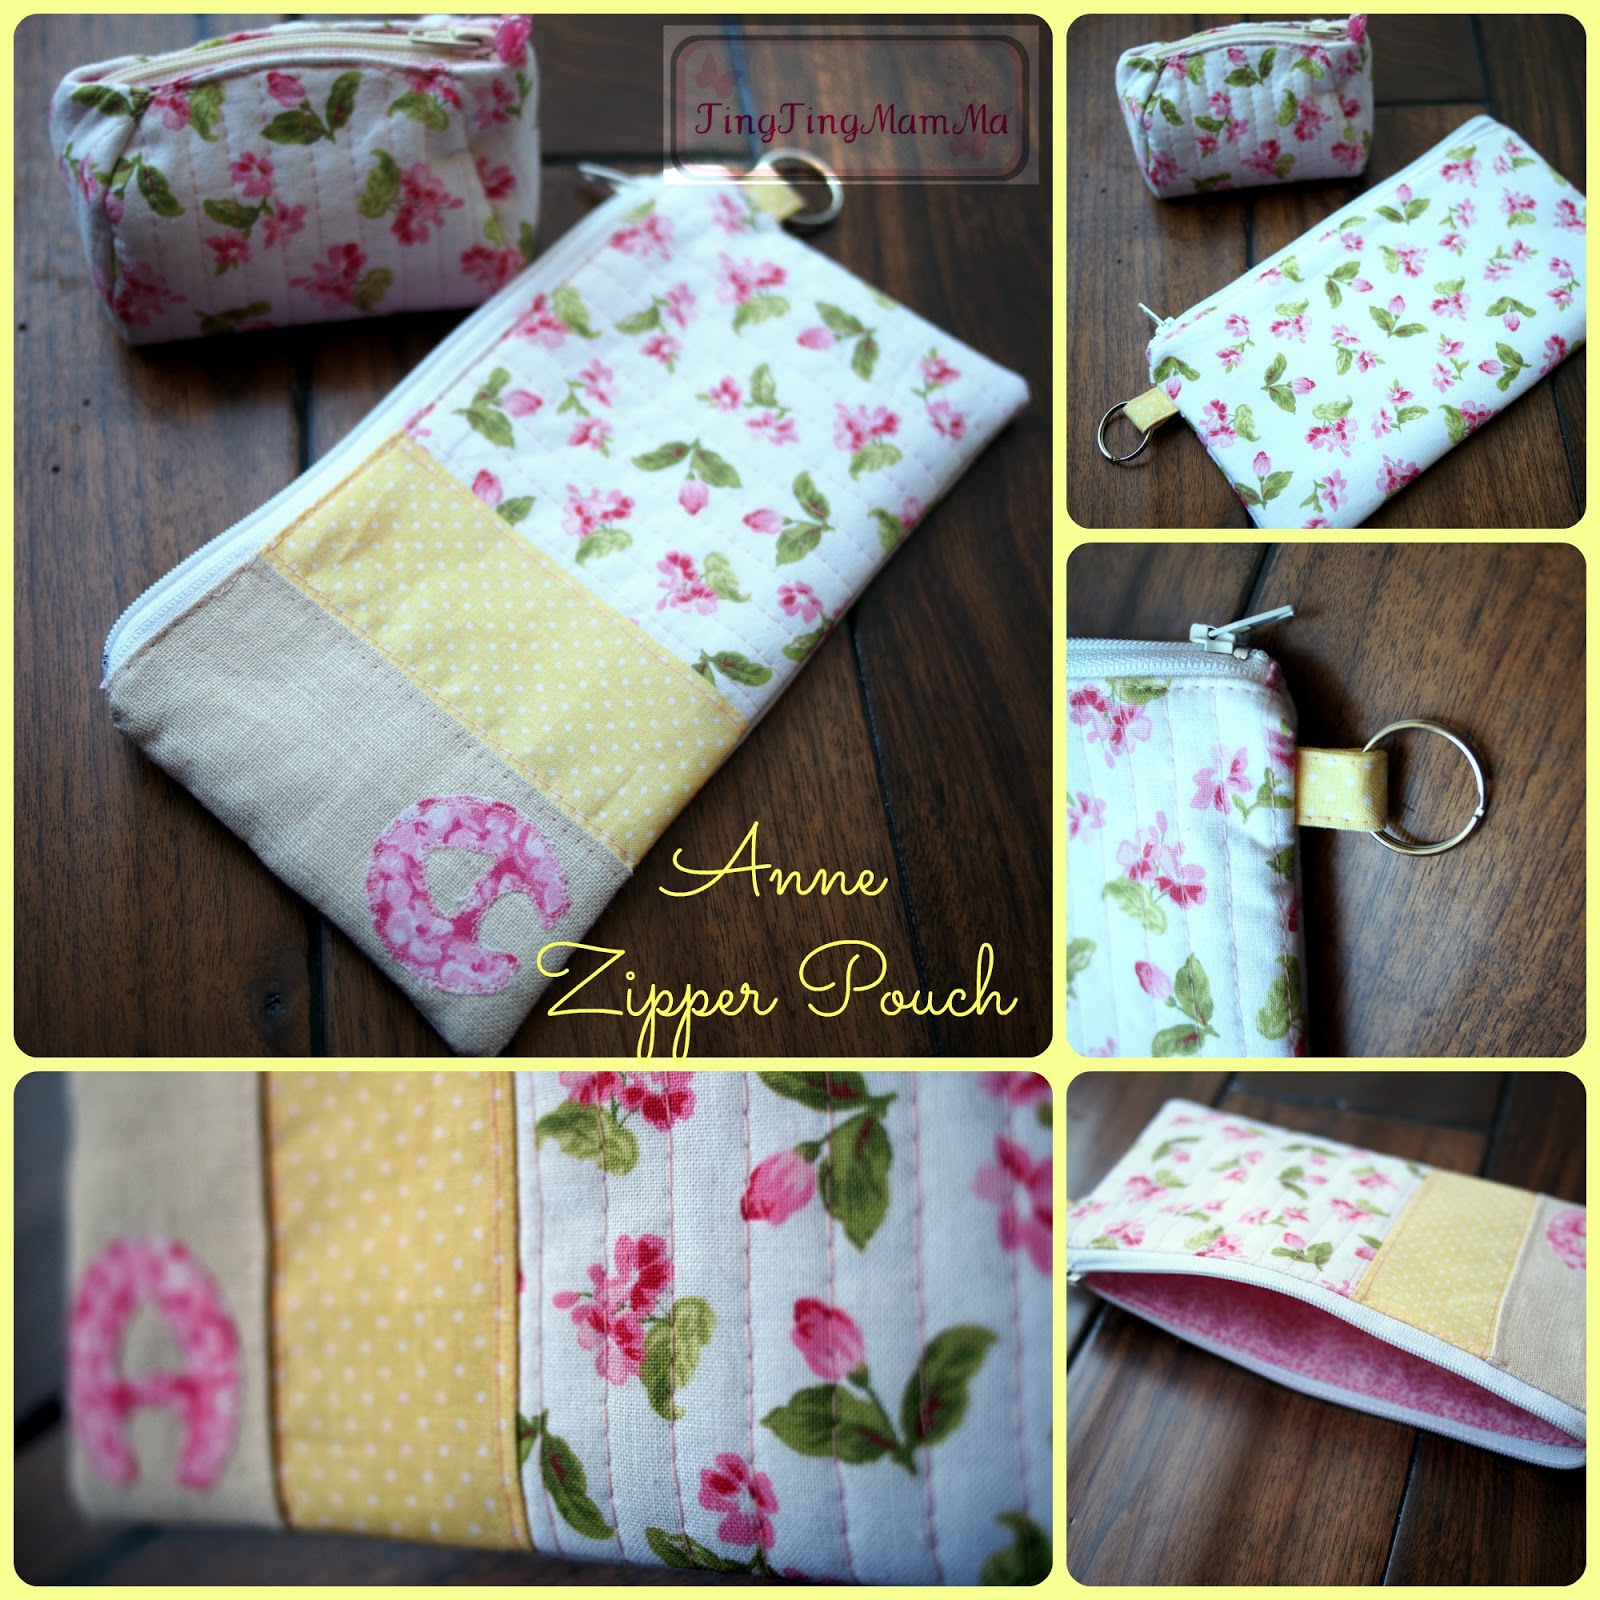
Finally get this set of gift ready. It's been way overdue. Anne, my sister, I hope these will brighten up your day!
Follow TingTingMamMa
Finally get this set of gift ready. It's been way overdue. Anne, my sister, I hope these will brighten up your day!
Posted by
Deb
0
comments
Labels:
Gifts,
sewing
Wednesday, February 24, 2016
Anne Coin Purse
My intention was to make a frame coin purse. However,...let's just say that it did not work out. (I have not had any luck making frame purses yet. Arrr.) I had to improvise and turn it into a zipper pouch. The puffy shape is charming. But my favorite part is hidden at the bottom.
Follow TingTingMamMa
Look at that. LOVE!
Tuesday, February 23, 2016
Sunday, February 21, 2016
Triple-Zip Cross the Body Bag
I wanted to make my mother-in-law a Christmas gift that she can use everyday. She travels light and she is very practical. So I thought a cross the body bag would be just the thing for her. It was a learning curve for me to make a bag with multiple zippers. It took me the winter break week to plan and construct this bag. I love the colors and the light weight of this bag! Who knows, maybe I will have the patience to make another one someday.
Follow TingTingMamMa
Posted by
Deb
0
comments
Labels:
bag,
DIY,
sewing
Tuesday, February 2, 2016
Tuesday, January 5, 2016
Doll Headband
During the winter break, JJ made her doll a paper headband. It was the perfect size and looked lovely...for about 2 days. Then the bow fell off.
Remembered the hair bows I made her, JJ asked if I could make her doll one. Now, that's a real challenge, because...well, the doll does not have hair! So, I came up with the idea to make a doll size interchangeable headband that JJ can change out the bows and snap them on. Uhum, I ended up playing with the doll a bit more than I should.
Saturday, December 5, 2015
Non-Automatic Buttonhole Foot Tutorial
It really is not supposed to be complicated to use a buttonhole foot. Most of the sewing machines nowadays come with an automatic buttonhole foot (like the one shown on the left--this came with my old sewing machine). But since I got my sewing machine 2nd handed, I was left without any accessories besides the standard foot. When I looked online, I was unable to find a buttonhole foot for my machine. However, there was a set of sewing feet on sale that included a buttonhole foot (of course, the picture on eBay was too small to show what each foot looked like.) It was after opening the package, I realized that the buttonhole foot in the set is not automatic--it does not have the button guide plate nor the bracket on the side. How do I use this foot? I searched online with no avail. Nope, I am obviously the only one who does not have an automatic buttonhole foot. *sigh*. If you are a proud owner of a non-automatic buttonhole sewing foot, please let me know!!
I rested the case for more than a year and I dared not sew anything that required a buttonhole...until today. I spent the Thanksgiving week reorganizing my sewing room and just so happened to have both buttonhole feet side by side. It was then that I had a chance to compare the 2. All I needed was to determine the buttonhole size and push the buttonhole lever at appropriate time.
I selected the buttonhole stitch on the machine and pull down the lever and attached the sewing foot.
Typically, buttonholes are sewn from the front of the presser foot to the back, starting with the tag bar. **Double check with your owner's manual for the exact steps of your buttonhole stitching.
So I set the movable attachment to where I wanted the buttonhole to start its bar tag. There is a red indicator on the foot (right next to where the foot is attached to the machine) that can line up with the ruler-like markings on the left. The red indicator marks the needle position. Once the the presser foot was lowered, the movable attachment was locked in place. Press the foot control and the machine will start step #1 and #2.
After the bar tag and the left bar of the buttonhole were sewn, and the movable attachment would not go back any further, it was time to push the lever back to let the machine know to go to step #3 (move the needle back to the front tag bar).
When the red indicator lines up with the marking where the beginning needle position was (front tag bar), I pushed the lever so the machine would sew the right bar. (step #4)

After the right bar of the buttonhole was sewn, and the movable attachment would not go back any further, it was time to push the lever back to let the machine know to go to step #5 (sew the back tag bar).
And there's my buttonhole with the not-so-automatic buttonhole foot! Woohoo!!
Posted by
Deb
0
comments
Labels:
feet,
sewing
Subscribe to:
Posts (Atom)